
What is BladeWatch?
BladeWatch turns your BYD's built-in panoramic camera into a full dashcam and Tesla-style sentry mode — without any cloud service or subscription. It installs directly onto the car's DiLink v3 head unit and runs in the background, recording while you drive and watching over the car while it's parked. Everything stays on the device; you own your footage.
Panoramic dashcam
Records the BYD 360° panoramic camera through a GPU pipeline (H.264/H.265), split into clips with a calendar library for browsing footage.
Sentry mode surveillance
24/7 monitoring with GPU motion detection, per-quadrant tracking, and an optional on-device AI object-recognition gate. Safe-location zones and schedules included.
Proximity recording
Uses BYD's parking radar sensors to start recording only when something approaches the parked car — with a pre-event buffer so you never miss the moment.
Vehicle control & 3D hero
Operate climate, windows, the sunroof, lights, ADAS options and the charge cap, and view an interactive 3D model of your BYD with live battery, range, tyre pressure, and door state.
Trips & analytics
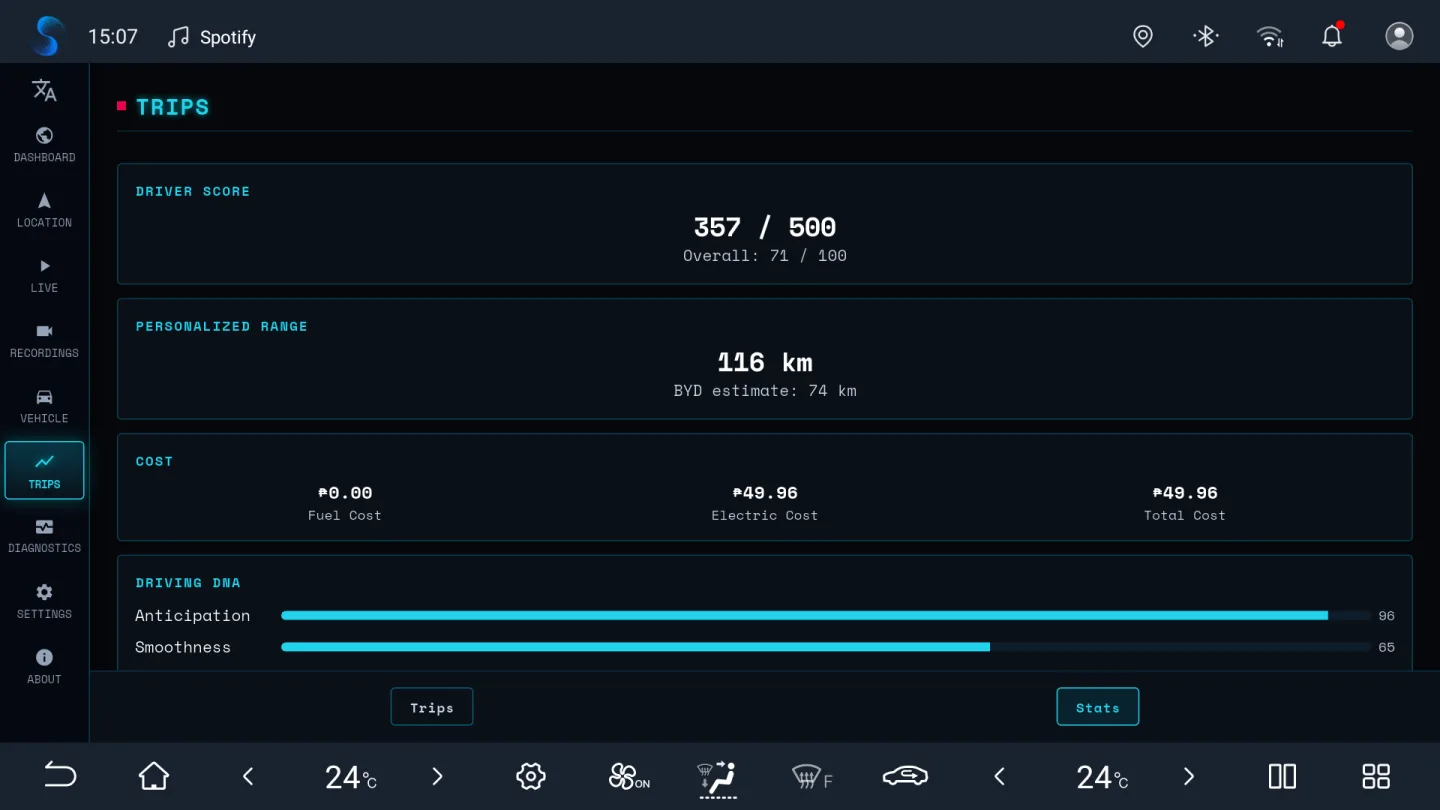
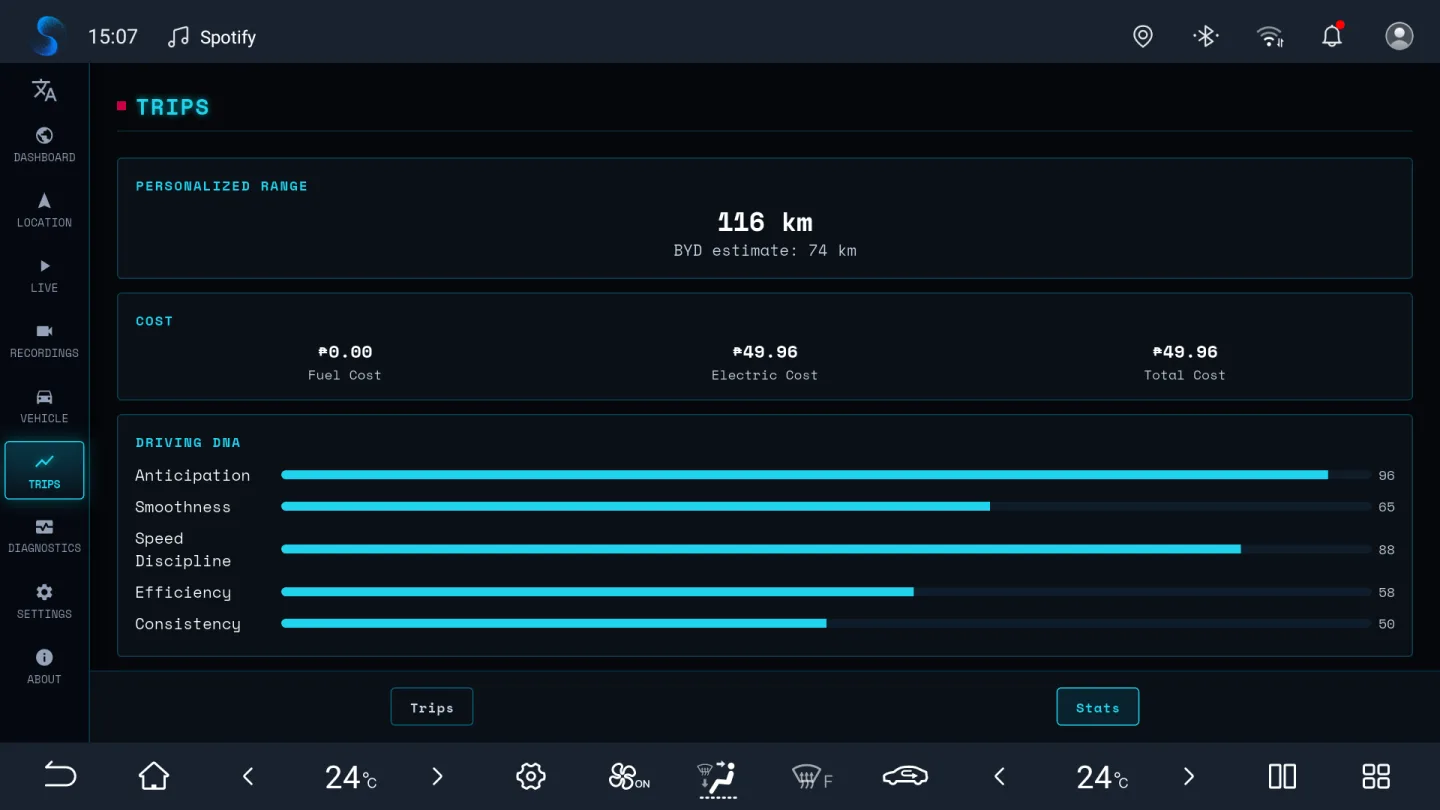
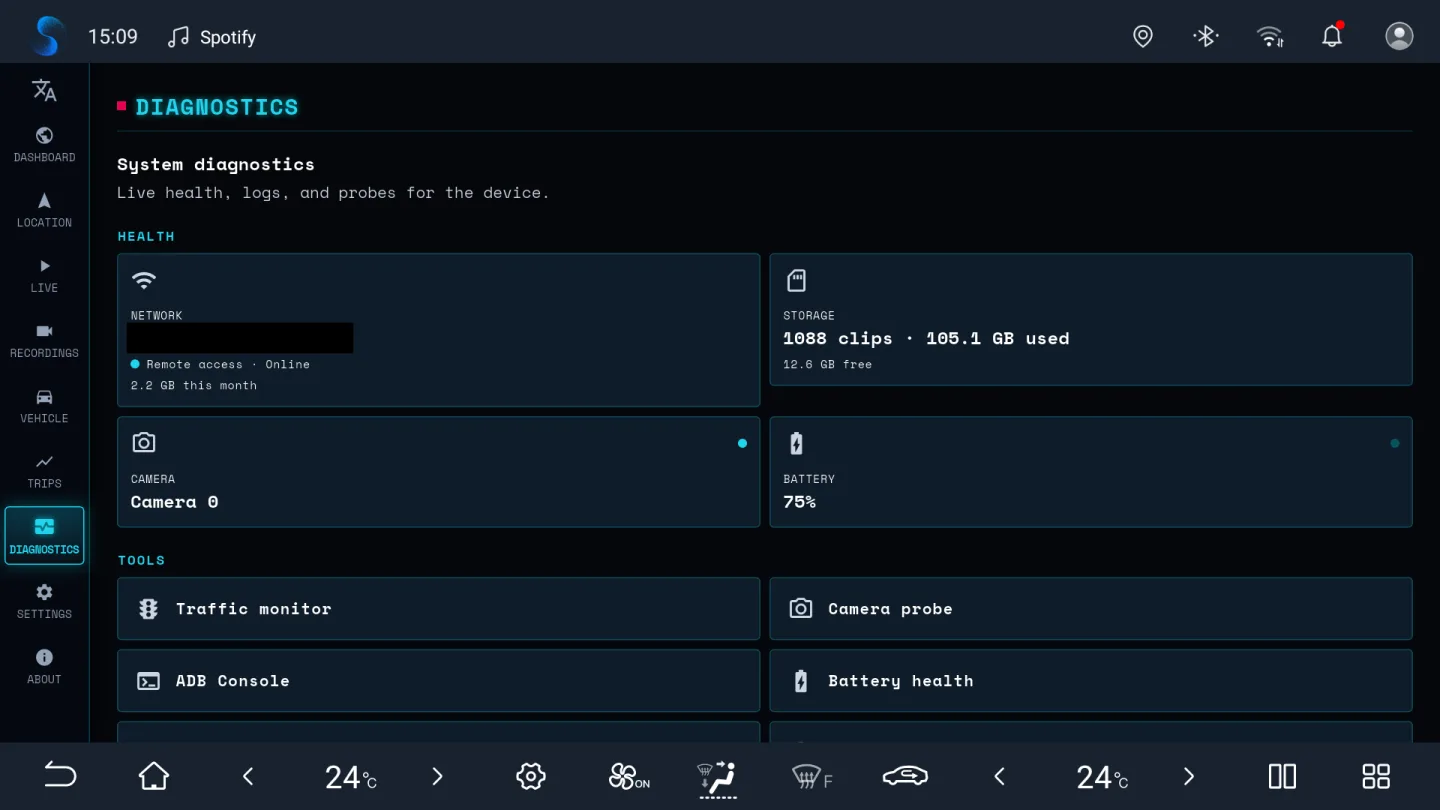
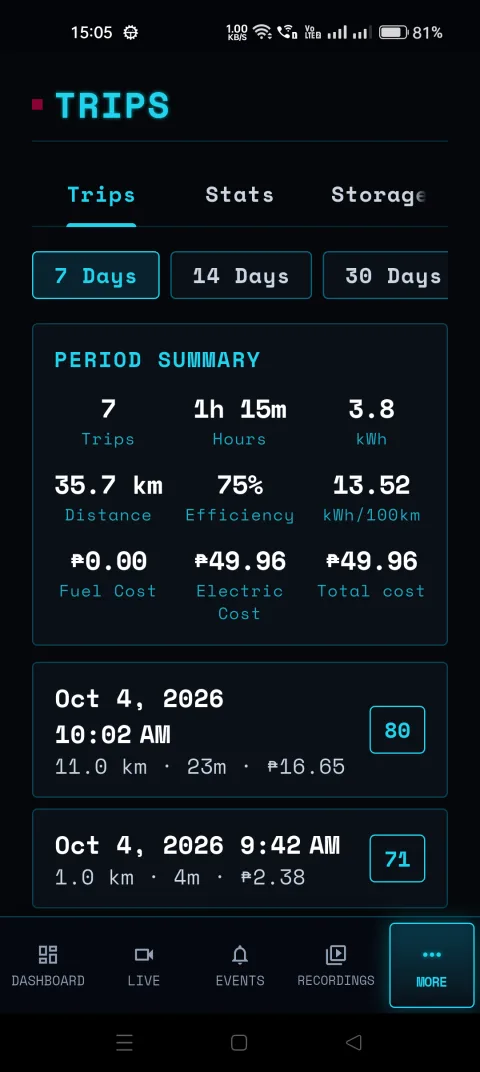
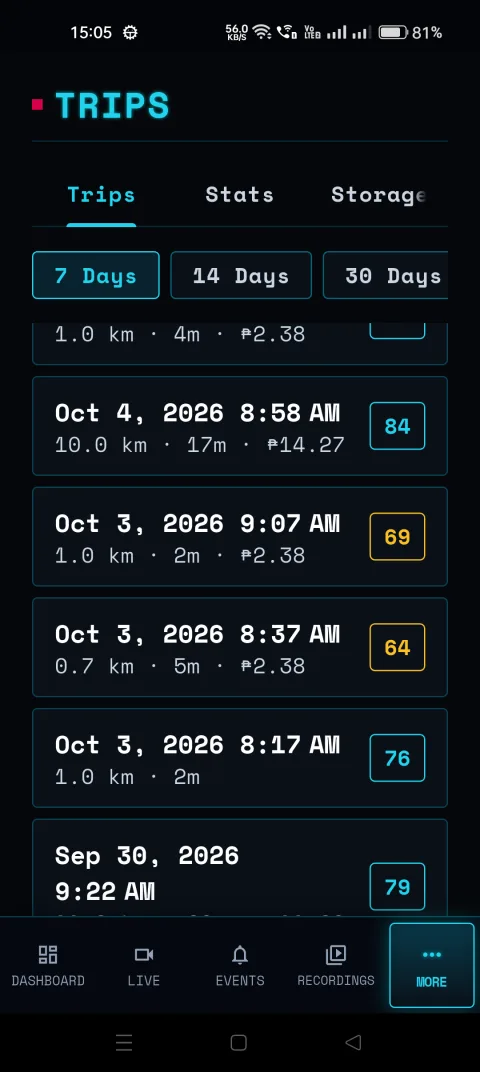
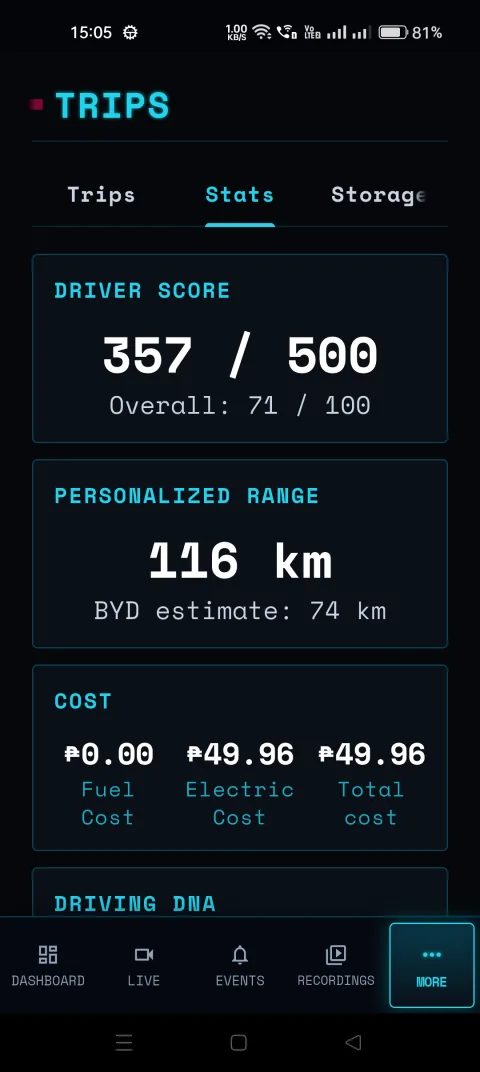
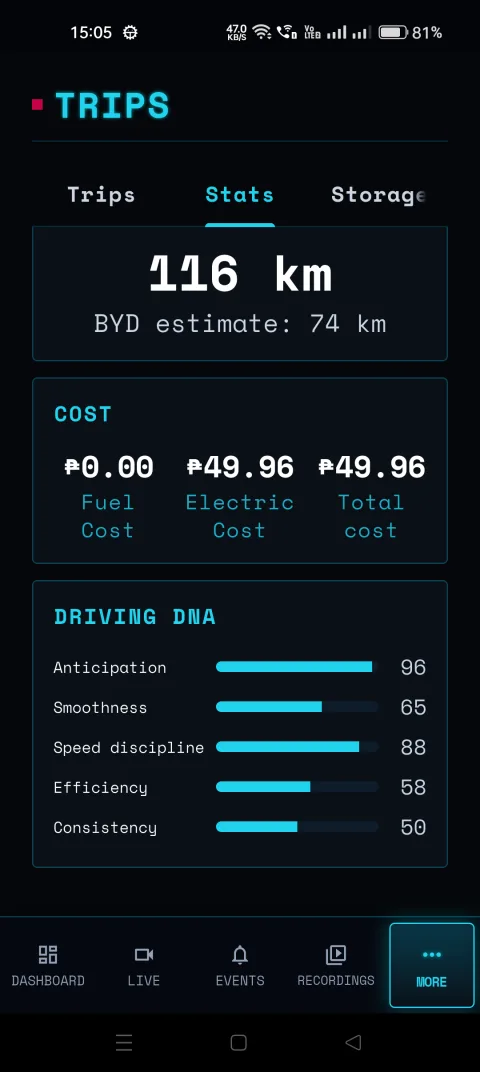
Trip history with route maps, telemetry, and driving insights, plus a real-time performance and diagnostics dashboard.
Companion app
A phone, TV and desktop app (Android incl. Android TV, macOS, Windows, Linux) that finds the car peer-to-peer over Pear — no account, no server, nothing to forward on your router. Pair once by QR or a six-digit number.
- 100% local storage
- No account
- No cloud
- Open source (MIT)
- Free
BYD compatibility
BladeWatch is built for BYD vehicles running the DiLink v3 Android head unit (arm64-v8a, Android 10+) with the 360° panoramic camera system. It has been used on models including:
- BYD Seal and Seal 5 DM-i
- BYD Seal U
- BYD Dolphin
- BYD Atto 3
- BYD Han and Tang
If your BYD has DiLink v3 and the panoramic camera, BladeWatch should work even if your exact model isn't listed above. The install steps below apply to any DiLink v3 head unit.
Downgrade the firmware first (if ADB is blocked)
On newer global firmware the engineer code shows a QR code instead of the IMEI prompt, so wireless ADB can't be enabled. The fix is to flash an older build that still has the ADB-accessible engineer menu, unlock it, install BladeWatch, and then update back. Skip this section if dialling *#91532547# already gives you an IMEI.
These steps are adapted from the community BYD unlocking guide by DeBondor, which covers the Han, Atto 2, Atto 2 DM-i, Seal, Seal U, Seal U DM-i, and Sealion 5 DM-i.
Check your version
Go to Settings → System → Version. This method only works if your version starts with 13.1.33. — for example 13.1.33.2511. If it starts with anything else, stop here; the downgrade package is not for your unit.
Prepare the USB drive
- Get the package. Download firmware 13.1.33.2404 — the build that still allows ADB access.
- Format the drive. Use an 8/16/32 GB USB drive formatted FAT32. Larger drives should be exFAT.
- Create the folder structure. On the root of the drive, create
BYDUpdatePackage/msm8953_64/and place the downloaded file inside it, renamed toUpdateFull.zip. - Remove the SD card. If an SD card is in the head unit, take it out — leaving it in makes the update throw an error.
Flash the older build
- Insert the drive. With the car switched on, plug in the USB drive (use a USB-A to USB-C adapter if the car only has USB-C ports).
- Trigger the update. When the QR code appears on screen, press and hold both the left arrow (Back) button on the steering wheel and the volume roller next to the gear selector for about 10 seconds.
- Wait it out. The flash takes 10–20 minutes. Don't press anything and don't turn the car off. When the screen reboots, remove the USB drive.
Unlock native APK installs (optional)
Once you are on 13.1.33.2404, enable wireless ADB with the steps in the next section. If you would rather install BladeWatch from the car's own File Manager instead of over ADB, install PackageInstallerUnlocker.apk once over ADB — after that the head unit accepts APKs copied to a USB drive.
Update back afterwards
After BladeWatch is installed and running, you can go back to newer firmware and your installed apps stay put. Prepare the USB drive exactly as above with 13.1.33.2511 (the most stable build), then pick Upgrade OTG on screen and leave it alone for roughly 15 minutes.
A newer 13.1.33.2602 build exists, but the community guide advises against it: the GPS sensor stops working on that version, which crashes apps that rely on location.
Install with an AI agent (the short way)
Don't fancy doing any of this by hand? Paste the prompt below into an agentic coding assistant — Claude Code, Codex, Gemini CLI, Cursor, and the like — running on a computer that is on the same Wi-Fi network as the car. It fetches both APKs, signs them with one key, installs them over ADB, and walks you through the on-screen steps. If the car isn't reachable it stops and tells you how to switch ADB on in the head unit.
The agent runs real commands on your computer and installs software on your car, so read what it proposes before you approve each step. The prompt deliberately tells it to stop and ask rather than guess, and never to uninstall anything without your say-so. You still need the firmware downgrade first if your engineer code shows a QR code.
Install BladeWatch (https://github.com/andrewloable/BladeWatch) on my BYD DiLink v3 head unit
over ADB. Run the commands yourself, one step at a time, and stop to ask me only where a step
says so.

Facts:
- BladeWatch is TWO APKs and both must be installed: the service host (package
  net.bladewatch.app, file bladewatch-service-host-*.apk) and the in-car UI (package
  net.bladewatch.incarapp, file bladewatch-ui-*.apk). They share one Android UID, so both MUST
  be signed with the same key.
- The head unit is reached with ADB over Wi-Fi: adb connect <car-ip>:5555. It is arm64-v8a,
  Android 10 (API 29), reports manufacturer "BYD AUTO", and is not rooted (it does not need
  to be). Always pass -s <car-ip>:5555 to every adb command.

1. Tools. Make sure adb (Android platform-tools), apksigner (Android build-tools) and keytool
   (a JDK) are on PATH; install whatever is missing with this OS's package manager (macOS:
   brew install --cask android-platform-tools android-commandlinetools, then sdkmanager
   "build-tools;35.0.0"; Debian/Ubuntu: apt install adb apksigner default-jdk-headless).

2. APKs. If two already-signed BladeWatch APKs are in the current directory, use them.
   Otherwise download the two car APKs of the latest release,
   bladewatch-service-host-*-unsigned.apk and bladewatch-ui-*-unsigned.apk, from
   https://github.com/andrewloable/BladeWatch/releases/latest (gh release download
   --repo andrewloable/BladeWatch --pattern 'bladewatch-service-host-*.apk' --pattern
   'bladewatch-ui-*.apk', or the GitHub releases API). Do NOT install the
   bladewatch-companion-* files on the car: they are the phone/desktop app. Then sign
   BOTH car APKs with the same key:
   - Ask me whether I have a keystore. If yes, ask for its path, alias and password. If not,
     create one: keytool -genkeypair -keystore bladewatch.jks -alias bladewatch -keyalg RSA
     -keysize 2048 -validity 10000 -dname "CN=BladeWatch" -storepass <password you choose>,
     then tell me to back that file up: every future update must be signed with this same
     key, or both packages have to be uninstalled first.
   - For each file: apksigner sign --ks <keystore> --ks-key-alias <alias>
     --ks-pass pass:<password> --out <name>.apk <name>-unsigned.apk
   - Then apksigner verify --print-certs on both signed APKs and confirm the SHA-256
     certificate digests are identical. Stop if they differ.

3. Connect. Run adb devices. If the car is already listed, use it. Otherwise ask me for the
   car's IP address and run adb connect <car-ip>:5555. If that fails (including "no route to
   host"), run adb kill-server && adb start-server and try once more: the local adb server
   gets stuck like this while the car is up. If it still fails, show me these instructions
   and wait for me:

   How to switch ADB on in the car:
   a) Put the car and this computer on the same Wi-Fi network, e.g. connect both to a phone
      hotspot.
   b) On the head unit open Settings, find Developer options (usually by tapping the version
      number under About several times) and switch on USB debugging.
   c) That alone is NOT enough on BYD: also switch on the head unit's own Wireless ADB /
      network debugging setting. A BYD system update can silently turn it back off.
   d) Read the car's IP address in the head unit's Wi-Fi settings and tell me.
   e) When the computer connects, the car's screen asks "Allow USB debugging?": tick
      "Always allow" and tap OK.

   Once connected, confirm it really is the car before installing anything:
   getprop ro.product.manufacturer must contain BYD, getprop ro.product.cpu.abi must be
   arm64-v8a and getprop ro.build.version.sdk must be 29 or higher. If not, stop and ask me.

4. Install. adb install -r the service host APK first, then the UI APK. If an install is
   rejected with INSTALL_FAILED_UPDATE_INCOMPATIBLE, INSTALL_FAILED_SHARED_USER_INCOMPATIBLE
   or INSTALL_FAILED_UID_CHANGED, an older BladeWatch signed with a different key is on the
   car: tell me, and only with my OK run adb uninstall net.bladewatch.incarapp and
   adb uninstall net.bladewatch.app, ask me to hard-reboot the head unit (hold Volume Down
   for 5 seconds) so its old background daemons die, reconnect, and install again. Never
   uninstall anything without asking, and never touch /data/local/tmp/pear (it holds the
   car's permanent remote-access identity; deleting it unpairs every phone).

5. Verify. adb shell 'dumpsys package net.bladewatch.app | grep userId' and the same for
   net.bladewatch.incarapp must print the same userId; if they differ the APKs were signed with
   different keys, go back to step 2. Then launch the UI:
   adb shell am start -n net.bladewatch.incarapp/net.bladewatch.bladewatch_ui.MainActivity

6. Tell me what to do on the car's screen, in this order:
   - Accept the "Allow USB debugging?" prompt that appears on first launch. The app uses its
     own ADB key to start its background daemons; nothing works until this is accepted.
   - In the head unit's BYD Auto-Start settings, UNCHECK BOTH "BladeWatch" and
     "BladeWatch Service". That list restricts auto-start, so unchecking is what allows them
     to start; otherwise nothing runs when the car is switched on. BYD resets this on every
     install, so it must be redone after each update.
   - Hard-reboot the head unit: hold Volume Down for 5 seconds and wait for it to restart.

Report each step's result as you go. Do not make mistakes: read every command's output before
moving on, never guess an IP address or a package name, and if anything is ambiguous, stop
and ask me instead of guessing.
Prefer to understand every step? The manual route is below and takes about fifteen minutes: enable wireless debug mode, connect with ADB, then install both APKs.
Enable wireless debug mode
Follow these steps from inside the car's infotainment system. Keep the phone hotspot active until the APK installation is complete.
- Establish connectivity. Connect your car's DiLink v3 head unit to your mobile phone's Wi-Fi hotspot.
- Access the engineer menu. Open the native Phone app in your car and dial
*#91532547#. - Retrieve identification. The screen will display an IMEI and Chinese text. Note down the IMEI.
- Generate the bypass code. On your mobile phone, visit ahmada3mar.github.io/BYD, paste your IMEI, and generate your unique bypass code.
- Authenticate. Enter the generated code into the car's dialer, then tap
进入(Enter). - Configure debugging. Scroll down to TestTools and select it. Enable Debug mode when USB connected, which is usually required as a prerequisite.
- Enable wireless ADB. Locate and enable Wireless adb debug switch. If a prompt appears asking whether to allow ADB debugging from your computer or device, select Always allow from this device.
- Identify the network address. Go to the car's WLAN settings, tap your connected hotspot name, and open the info icon. Write down the car's IP address, for example
192.168.x.x.
Connect to the head unit with wireless ADB
Make sure your computer is on the same Wi-Fi network as the car. Then run the wireless ADB connection command using the IP address shown in the car's WLAN settings.
adb connect <IP_ADDRESS>:5555If the connection succeeds, check that the head unit appears in your device list:
adb devicesThe device may appear as an IP address followed by :5555. If it says unauthorized, look for an authorization prompt on the head unit and allow the connection.
Install BladeWatch
Skipping the manual route? An AI agent can do all of this for you.
BladeWatch ships as two arm64-v8a APKs for the car, and you need both:
- Service host (
net.bladewatch.app) — the daemons, recording, surveillance, and BYD integration. No launcher icon. - In-car UI (
net.bladewatch.incarapp) — everything you see and tap. This is the only launcher icon.
The two packages share a single Android UID, which is what lets the UI talk to the daemons over loopback IPC. That only resolves when both are signed with the same key, so always install them as a pair from the same release.
Download both car APKsThe same release also carries bladewatch-companion-* files. Those are the phone and desktop app — never install them on the car. See the companion app below.
Install ADB if needed
If your computer does not already have ADB, install Android Platform Tools first. After installation, confirm ADB is available:
adb versionSign both APKs first
Release builds are published unsigned on purpose, so the signing key never touches CI — Android will refuse to install them as-is. Create a keystore once with keytool, then sign both files with that same key using apksigner from the Android build tools:
keytool -genkey -v -keystore release.jks -keyalg RSA -keysize 2048 -validity 10000 -alias key0

for f in bladewatch-*-unsigned.apk; do
  apksigner sign --ks release.jks --ks-key-alias key0 \
    --out "${f%-unsigned.apk}.apk" "$f"
done
Confirm the two digests match before installing. If they differ, the UI installs but never reaches the daemons:
apksigner verify --print-certs bladewatch-*-arm64-v8a.apk | grep 'SHA-256 digest'Install both APKs
adb install bladewatch-service-host-*-arm64-v8a.apk
adb install bladewatch-ui-*-arm64-v8a.apk
If you are updating an existing install signed with the same key, add -r to both commands.
net.bladewatch.flutter to net.bladewatch.incarapp in v1.4.0.0. Android treats that as a different app, so it will not update in place: install the new UI, then uninstall net.bladewatch.flutter or you are left with two launcher icons. The car's recordings and data survive because the service host holds them, but the UI's own preferences start fresh, and BYD Auto-Start has to be cleared again for the new entry. Saved .onion addresses from v1.3.x stop working — pair the companion app instead.
Switching signing keys is a separate case: that changes the shared UID, so uninstall both net.bladewatch.app and the in-car UI first rather than upgrading over the top.
First-run setup
BladeWatch runs background daemons to keep recording and surveillance alive on the head unit, so the first launch needs two extra steps.
- Authorize ADB on the screen. On first launch, accept the ADB authentication prompt that appears on the car's display.
- Clear the auto-start restriction for both entries. Open BYD Auto-Start (BladeWatch's setup screen has an Open BYD Auto-Start button) and uncheck BOTH BladeWatch and BladeWatch Service. Two entries appear because BladeWatch is now two APKs, and clearing only the UI leaves the daemons dead. Without this, recording does not start when you switch the car on — you have to open the app every time.
- Redo it after every update. BYD wipes the auto-start list on every install, so repeat the step above each time you update BladeWatch.
- Hard reboot the head unit. After the first install and run, press and hold the Volume Down button for about 5 seconds and wait for the system to fully restart. This finalizes the installation.
Optional: to reach the car from your phone or computer, install the companion app and pair it from the car's Dashboard. Remote access is peer-to-peer over Pear — no account, no server in the middle, and nothing to forward on your router.
Install the companion app
The companion is how you reach the car from your phone, TV or computer. It finds the car over Pear, a peer-to-peer network — there is no account, no server in the middle, and nothing to forward on your router. It is optional, and it never goes on the car.
From v1.4.1.2 there is one download per kind of processor rather than a single all-in-one file, so each is about half the size. Pick the row that matches your device.
| Platform | Release file | Needs |
|---|---|---|
| Android phone or tablet | bladewatch-companion-<version>-android-arm64-v8a-unsigned.apk | Android 10+, 64-bit |
| Android TV (most are 32-bit) | bladewatch-companion-<version>-android-armeabi-v7a-unsigned.apk | Android 10 or later |
| Android emulator, x86 Chromebook | bladewatch-companion-<version>-android-x86_64-unsigned.apk | Android 10 or later |
| Mac with Apple silicon | bladewatch-companion-<version>-macos-arm64-unsigned.zip | macOS 12 or later |
| Mac with an Intel processor | bladewatch-companion-<version>-macos-x86_64-unsigned.zip | macOS 12 or later |
| Windows | bladewatch-companion-<version>-windows-unsigned.zip | 64-bit Windows |
| Linux | bladewatch-companion-<version>-linux-unsigned.tar.gz | 64-bit Linux with GTK 3 |
| iOS | not published — build from source | iOS 15+, a Mac with Xcode |
Like the car APKs, none of these are signed, because the release build holds no keys. That means each platform needs one extra step the first time.
Android
Sign it once with a key of your own, then install it:
apksigner sign --ks my-companion.jks --ks-key-alias key0 \
  --out bladewatch-companion.apk bladewatch-companion-*-android-arm64-v8a-unsigned.apk
adb install bladewatch-companion.apk
On an Android TV, take the armeabi-v7a build instead — adb shell getprop ro.product.cpu.abi tells you which one a device runs. Turn on the TV's developer options and network debugging, then install over the network:
adb connect <tv-ip>:5555
adb install bladewatch-companion.apk
The companion then appears among the TV's apps and is driven with the remote: a bright ring shows what is selected, and up/down walk the menu and scroll the page. Events, Recordings, Trips, Surveillance and Location all work from the couch.
It does not have to be the car's key, but keep using the same key for every update — Android refuses an update signed with a different one, and the only way out is to uninstall and pair again. Installing from a file needs "Install unknown apps" allowed for whichever app opens it.
macOS
Unzip it and move BladeWatch.app to Applications. Because it is unsigned, a double-click is refused the first time ("cannot be opened because the developer cannot be verified") — right-click it and choose Open, then Open again. Or clear the quarantine flag once:
xattr -cr /Applications/BladeWatch.appWindows
Unzip the whole folder somewhere permanent and run bladewatch_companion.exe from inside it — the program needs the DLLs and the data folder next to it, so don't move the .exe on its own. SmartScreen warns about an unrecognized publisher: click More info, then Run anyway.
Linux
mkdir -p ~/bladewatch && tar -xzf bladewatch-companion-*-linux-unsigned.tar.gz -C ~/bladewatch
chmod +x ~/bladewatch/bladewatch_companion
~/bladewatch/bladewatch_companion
Keep the lib and data folders next to the binary.
Pair it with the car
- Start pairing on the car. On the car's Dashboard, tap Pair a device. A QR code appears — it works once and expires after five minutes, after which New code makes another. Pairing is what turns remote access on.
- On a phone, scan the code. The Android and iOS apps use the camera.
- On a TV or computer, pair over Wi-Fi instead. There is no camera, so turn on Direct connection on this Wi-Fi in the same dialog, put the device on the car's Wi-Fi, and choose Pair over Wi-Fi in the companion. Both screens then show the same six-digit number — tap Pair in the car only if they match. (Pasting the QR's text, read with any QR reader, still works everywhere.)
- Wait for the first connection. The companion finds the car over Pear from anywhere; the first time can take up to a minute.
- Optional — go direct on your own Wi-Fi. With Direct connection on this Wi-Fi on, a paired device on that network connects straight to the car, encrypted, without going through the internet. It is off unless you turn it on.
A pairing lasts until you remove it — restarts, updates and reboots keep it. The car's Dashboard has a Paired devices card, and the Pair a device dialog lists every paired phone, TV and computer with when it was paired and a Remove button that cuts it off at once. Unpair this device in the companion makes that device forget the car, but the car keeps listing it until you remove it there too.
Treat the pairing code like a password: anyone who scans the QR, or confirms the six-digit number, before it expires is paired to your car. That is why the car asks you to check the digits match before you tap Pair.
BladeWatch on a BYD head unit
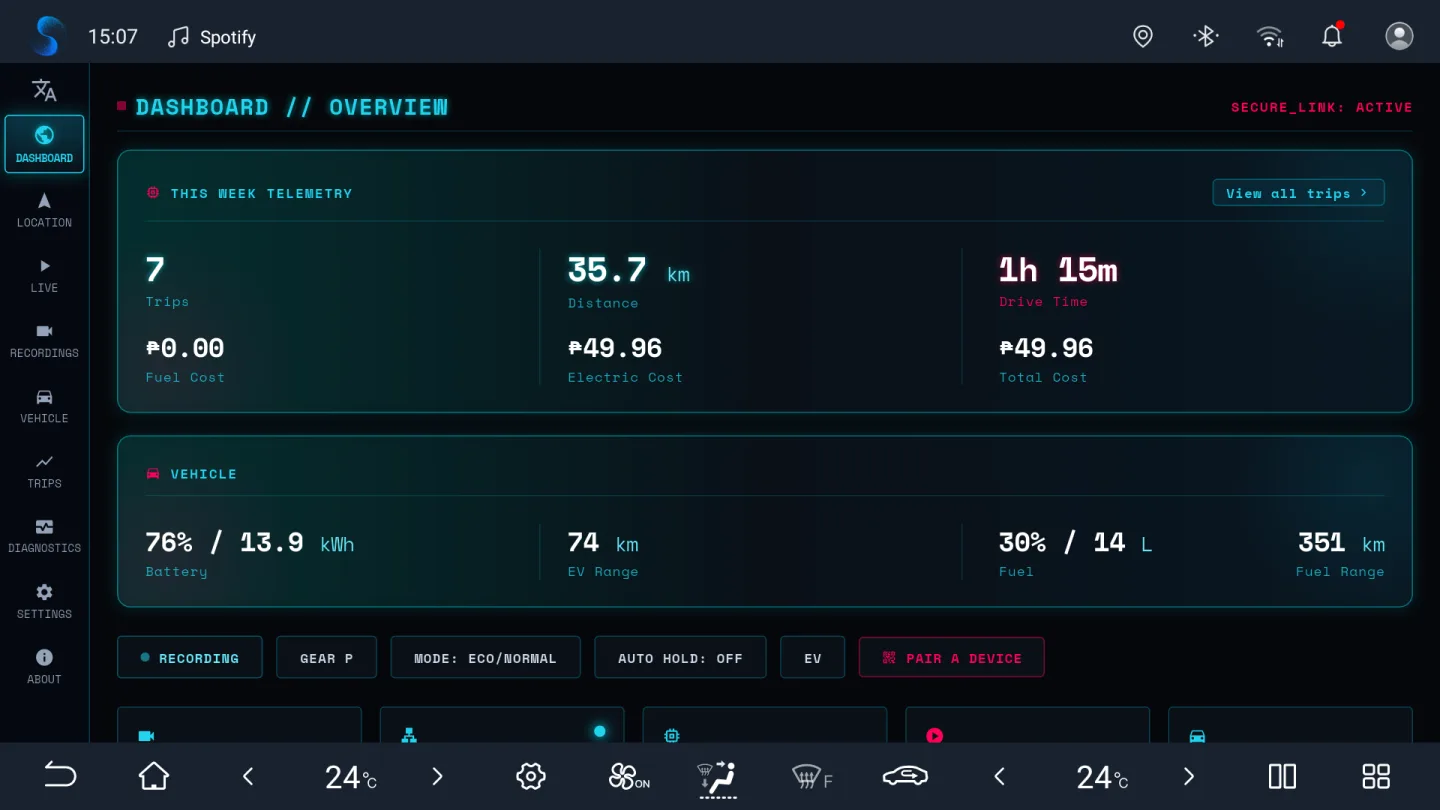
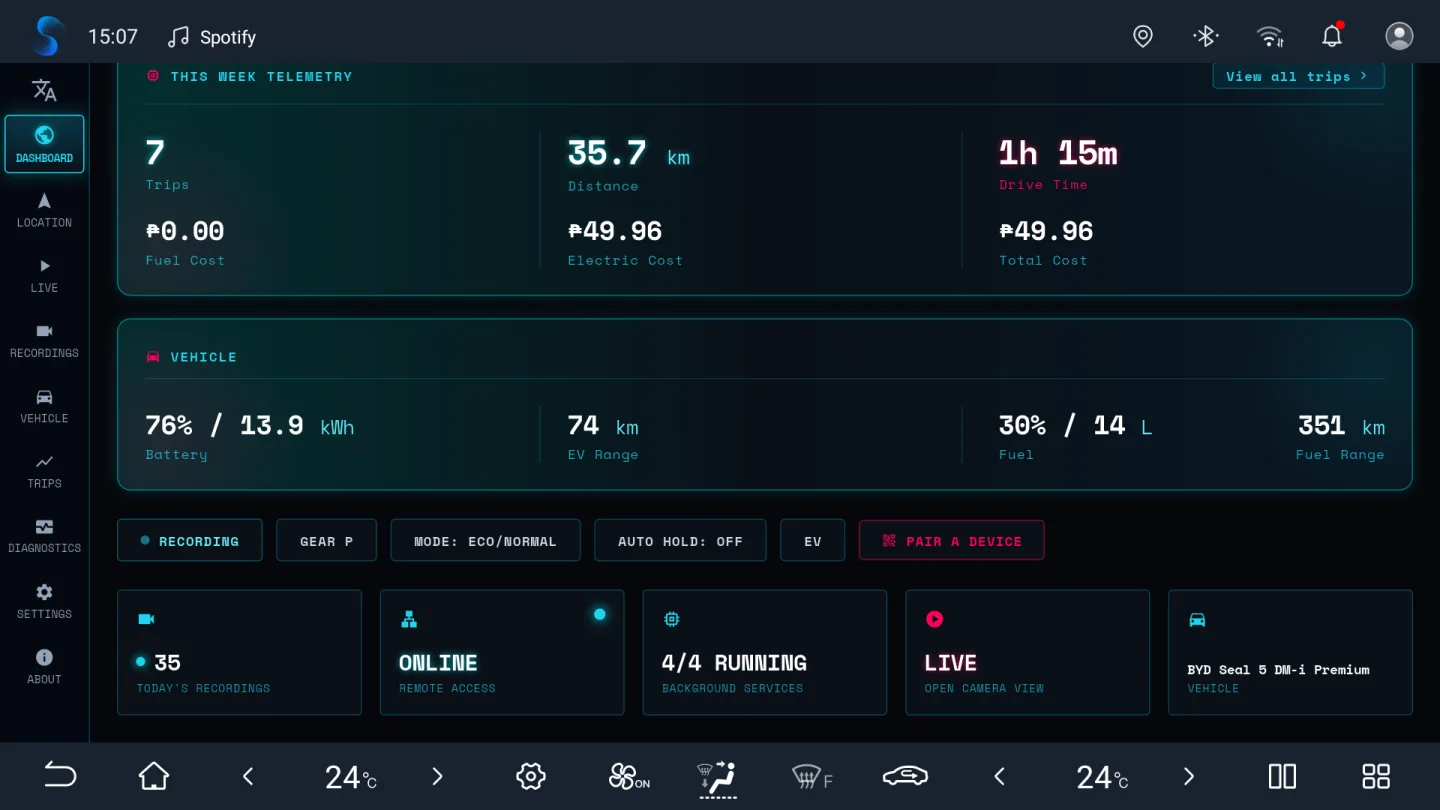
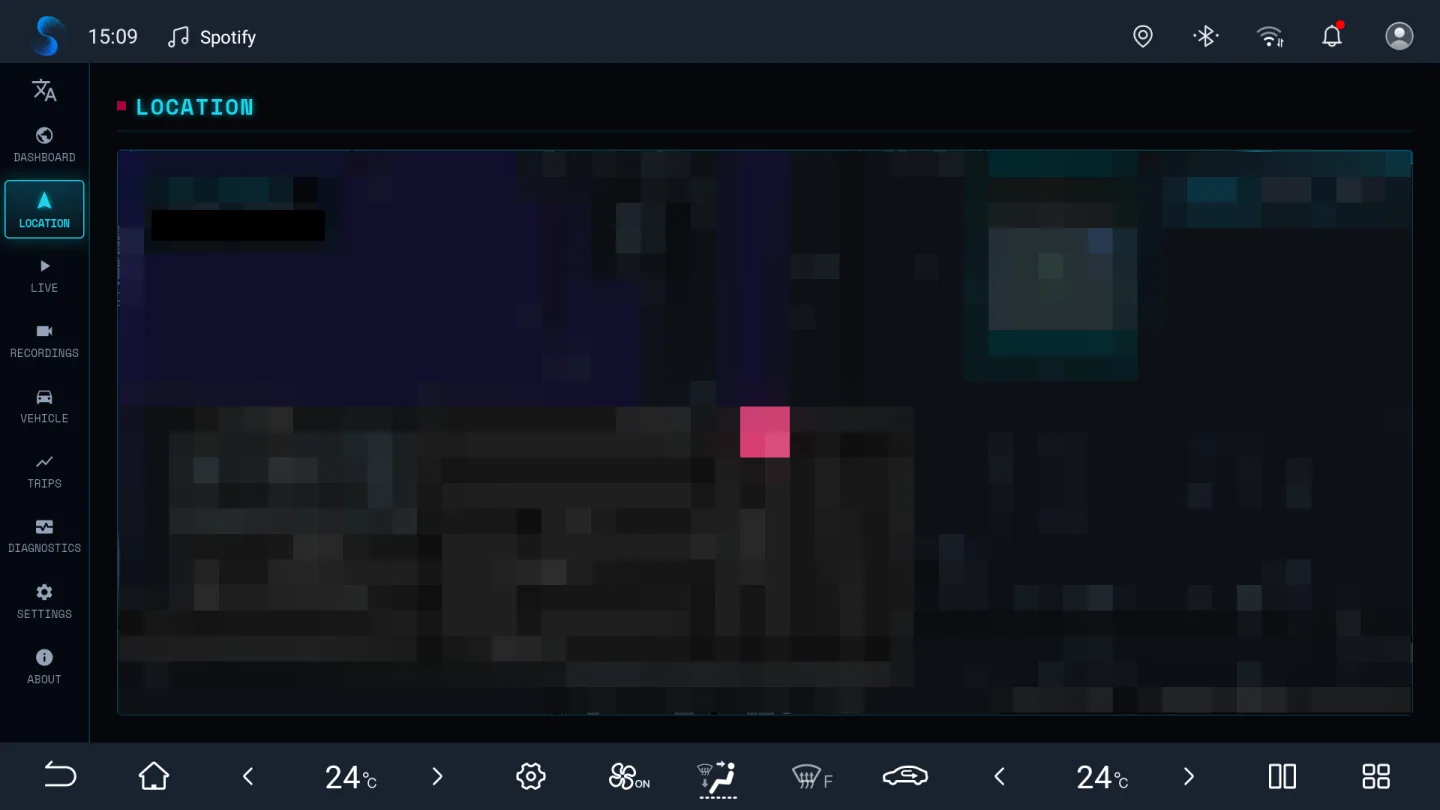
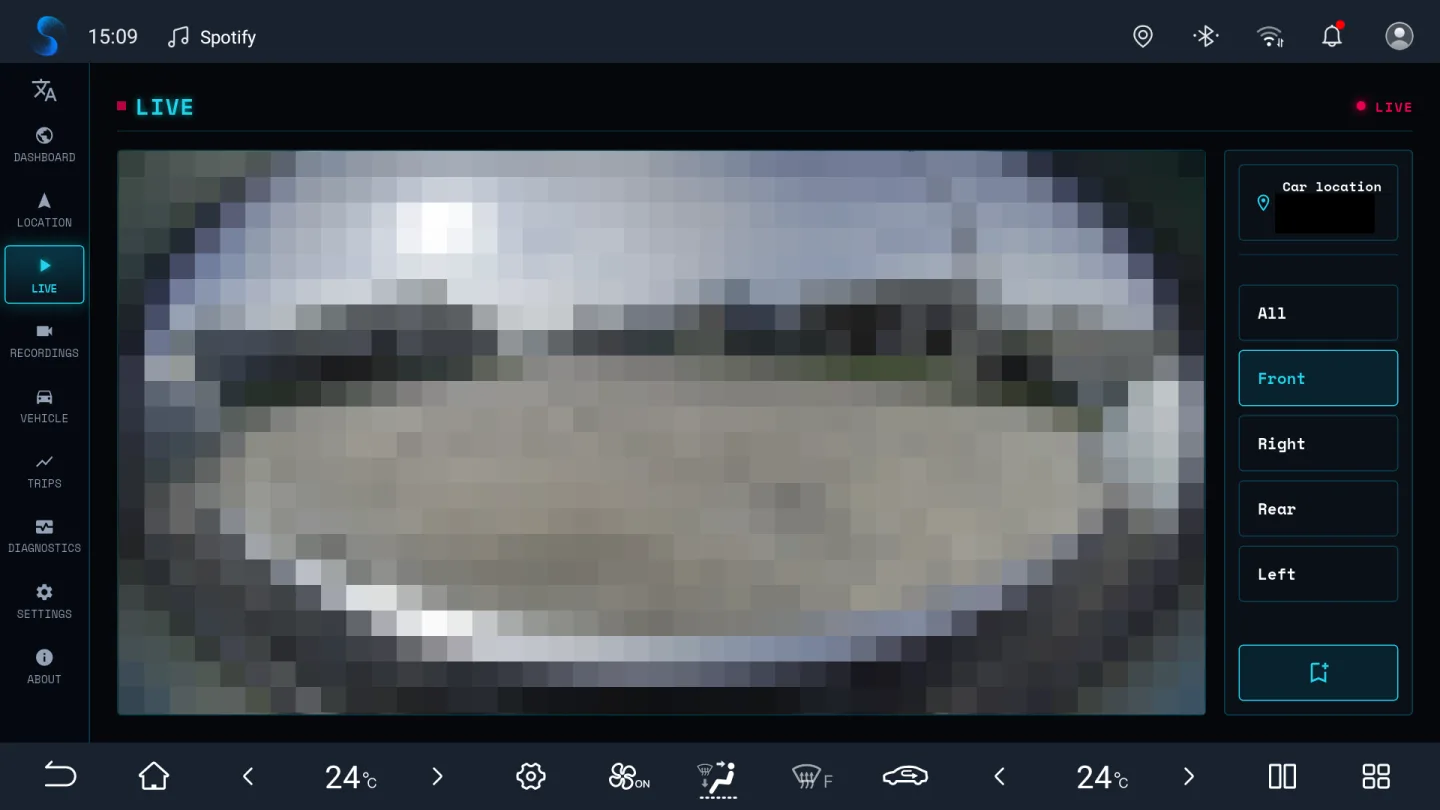
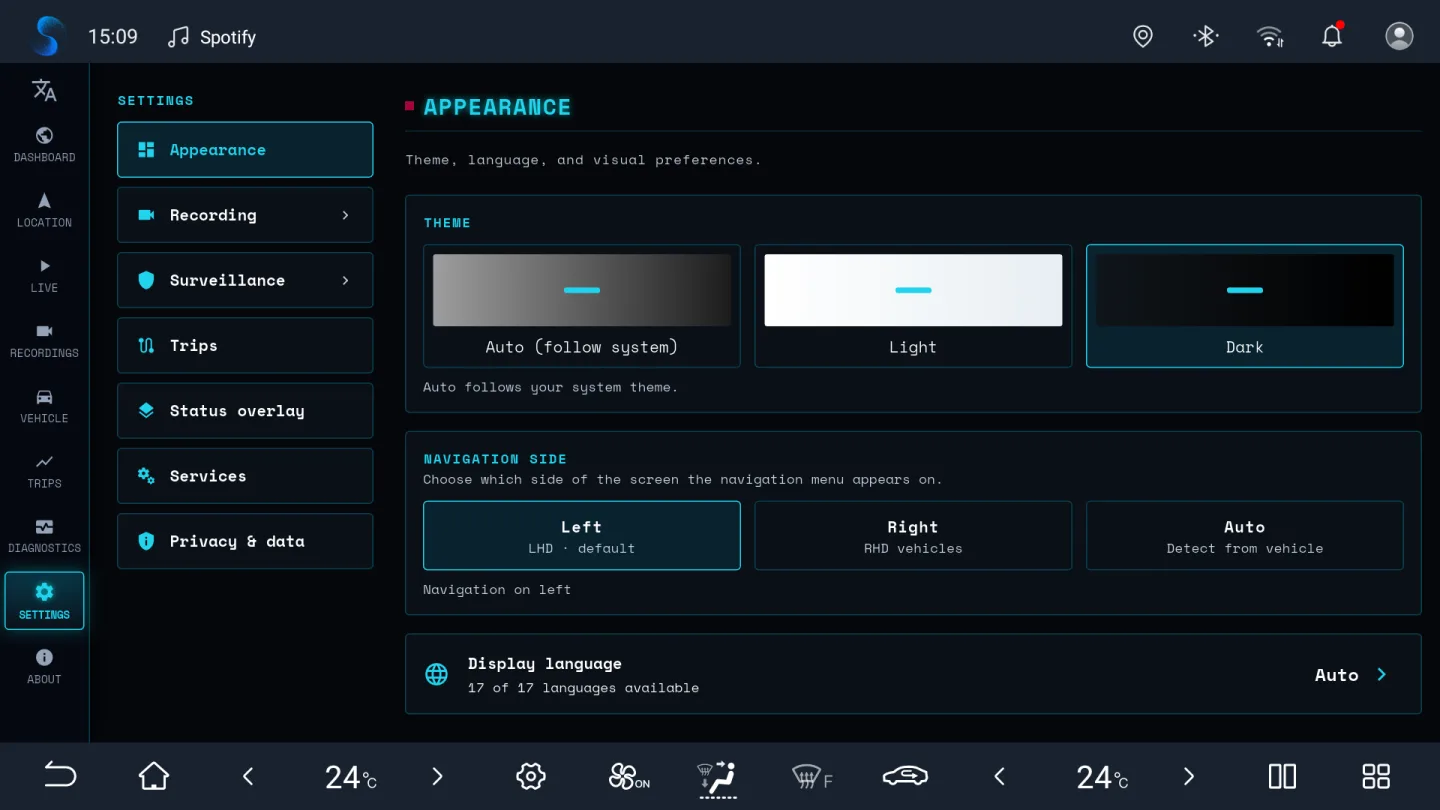
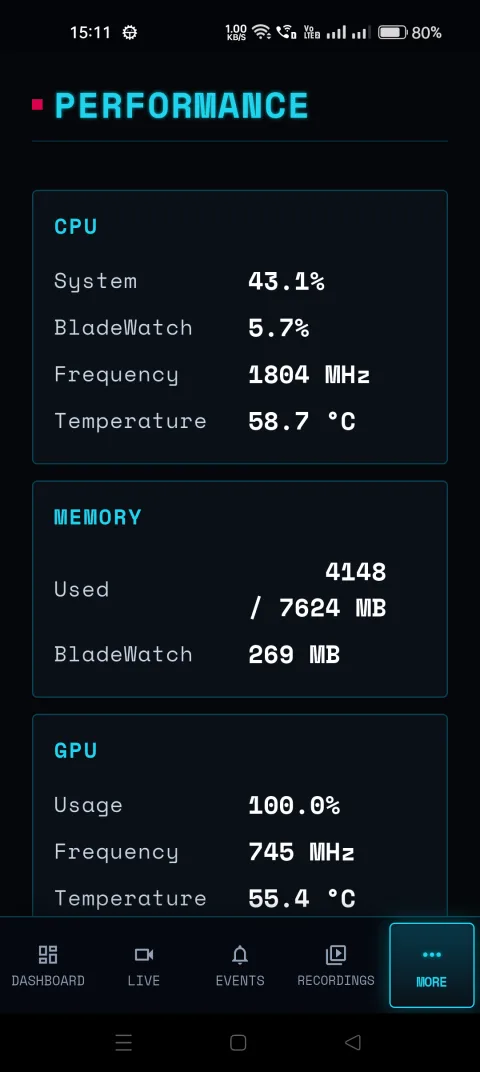
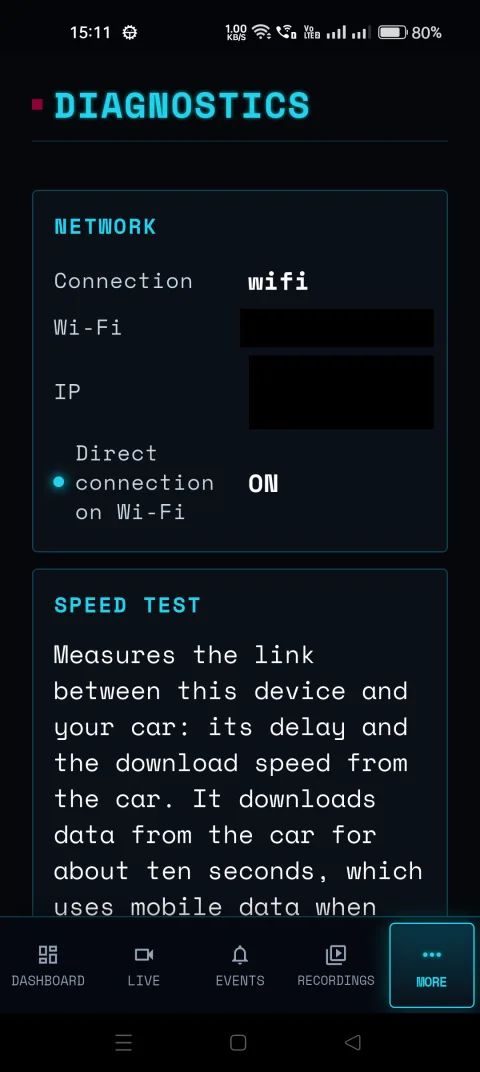
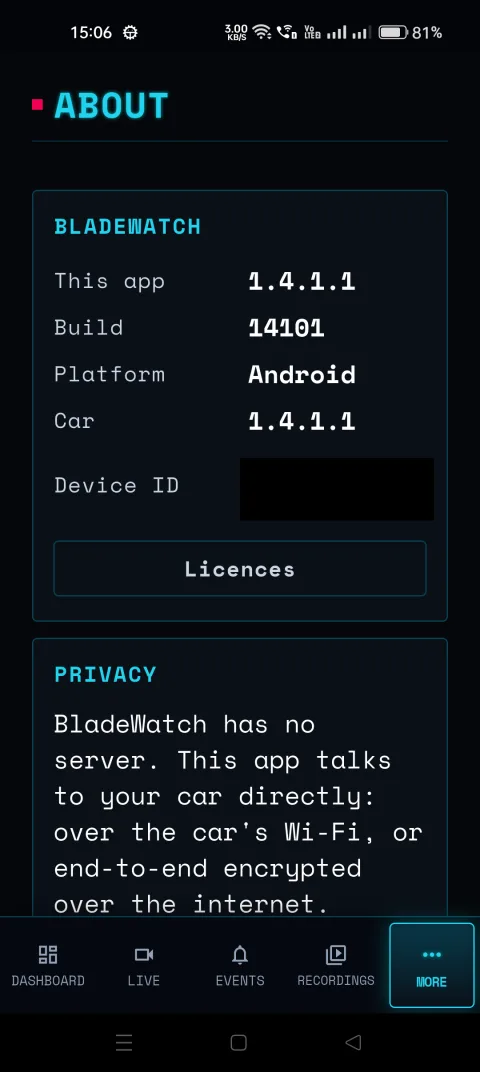
These screenshots are from v1.4.1.2 running on a BYD DiLink v3 head unit — the dashboard, live panoramic dashcam, recordings, location, 3D vehicle control, trips, diagnostics, and settings.
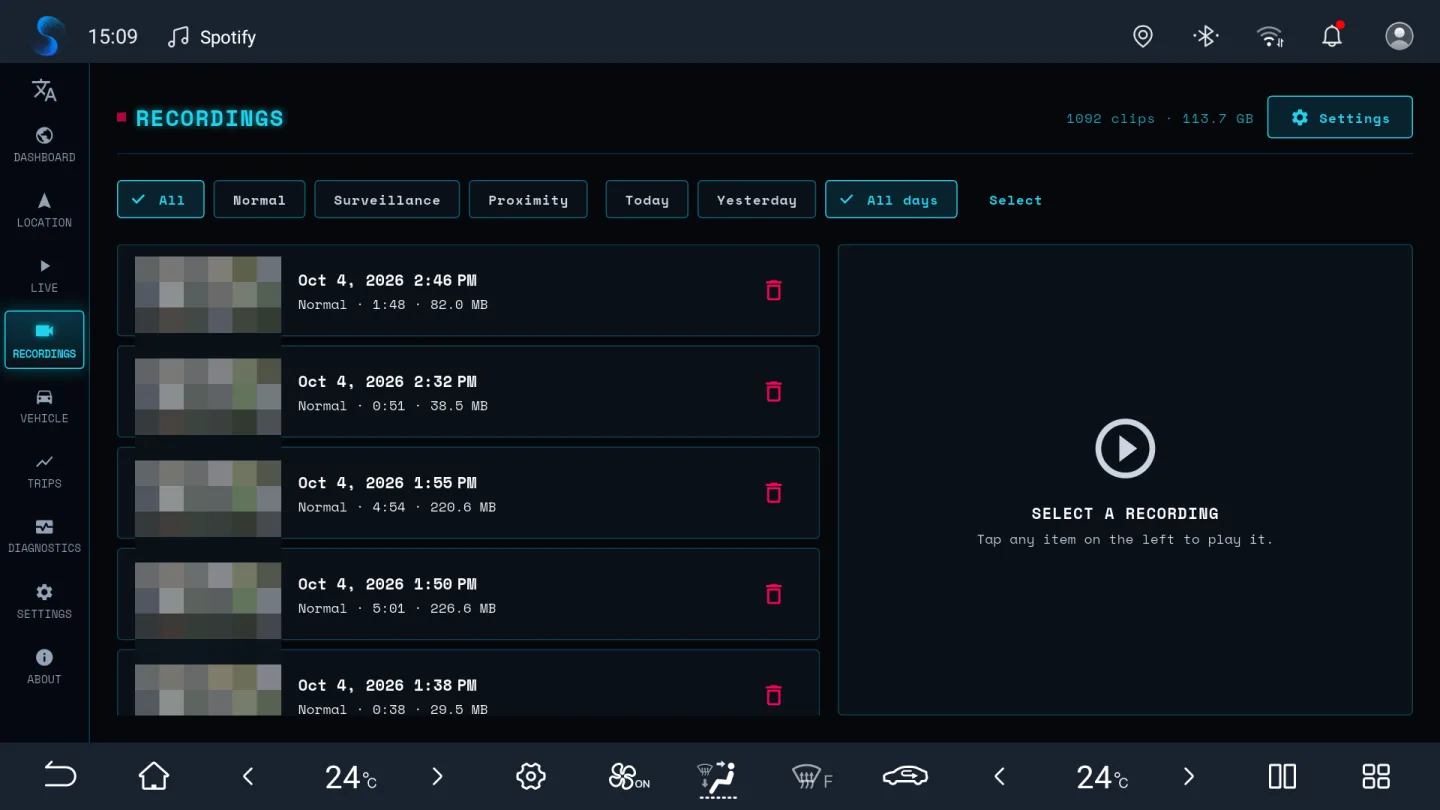
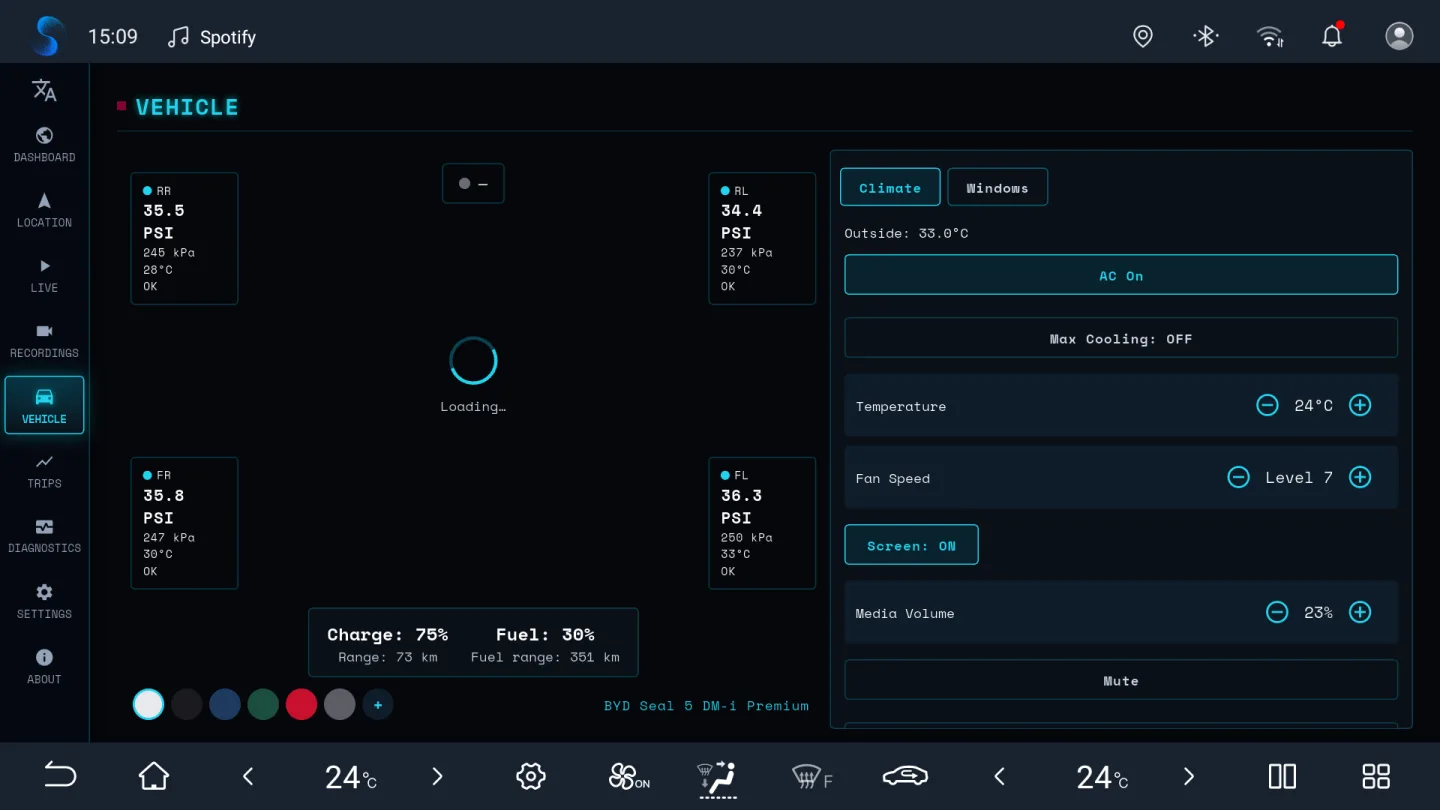
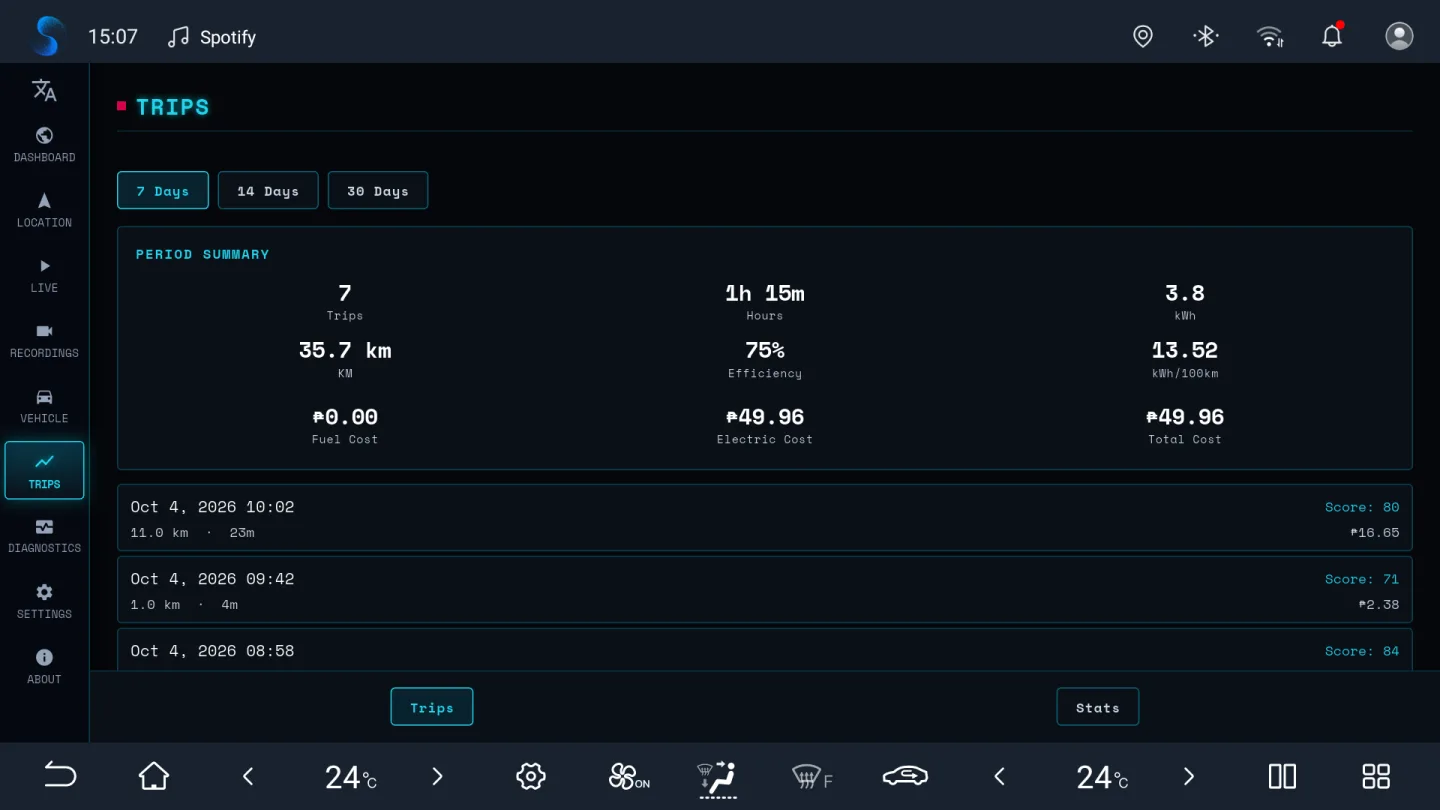
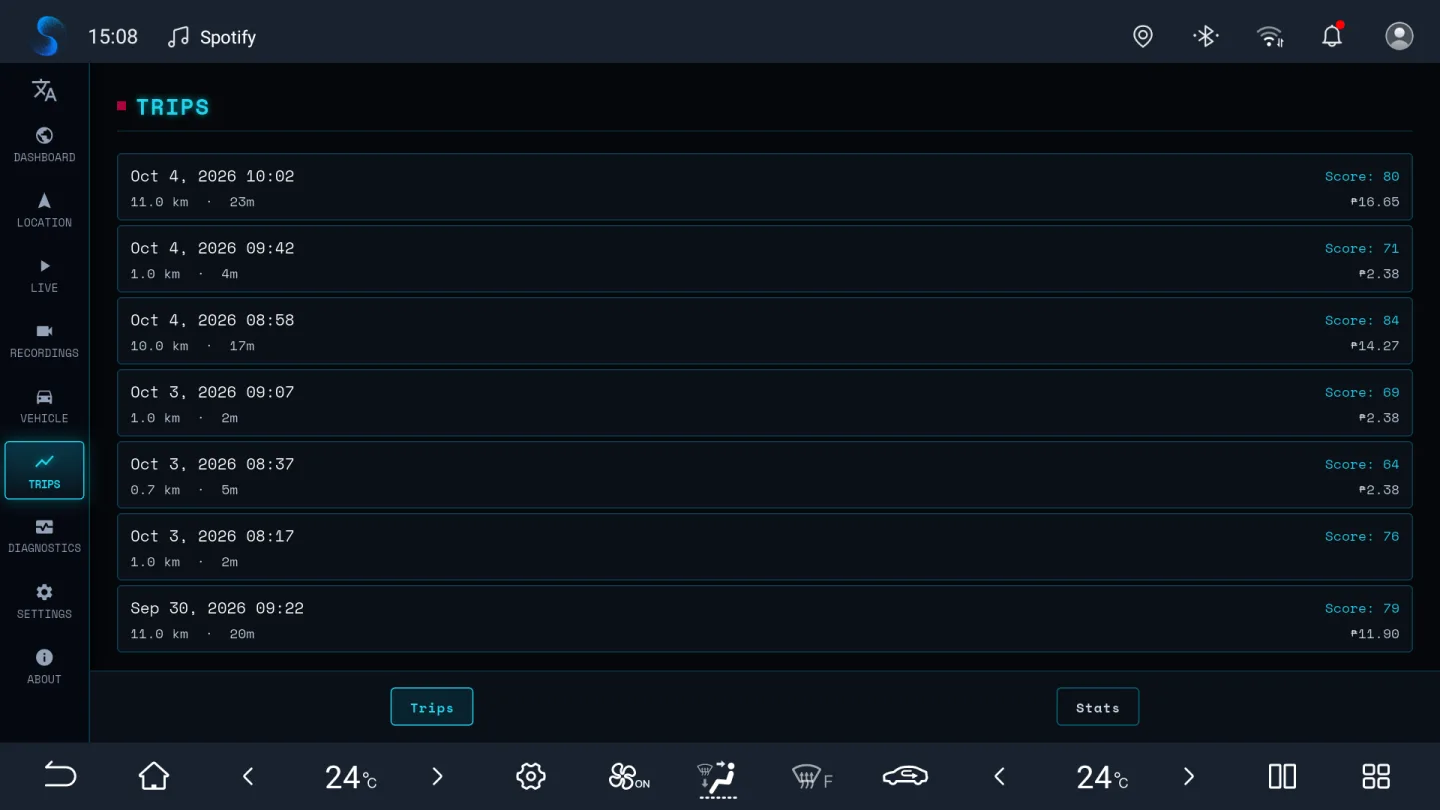
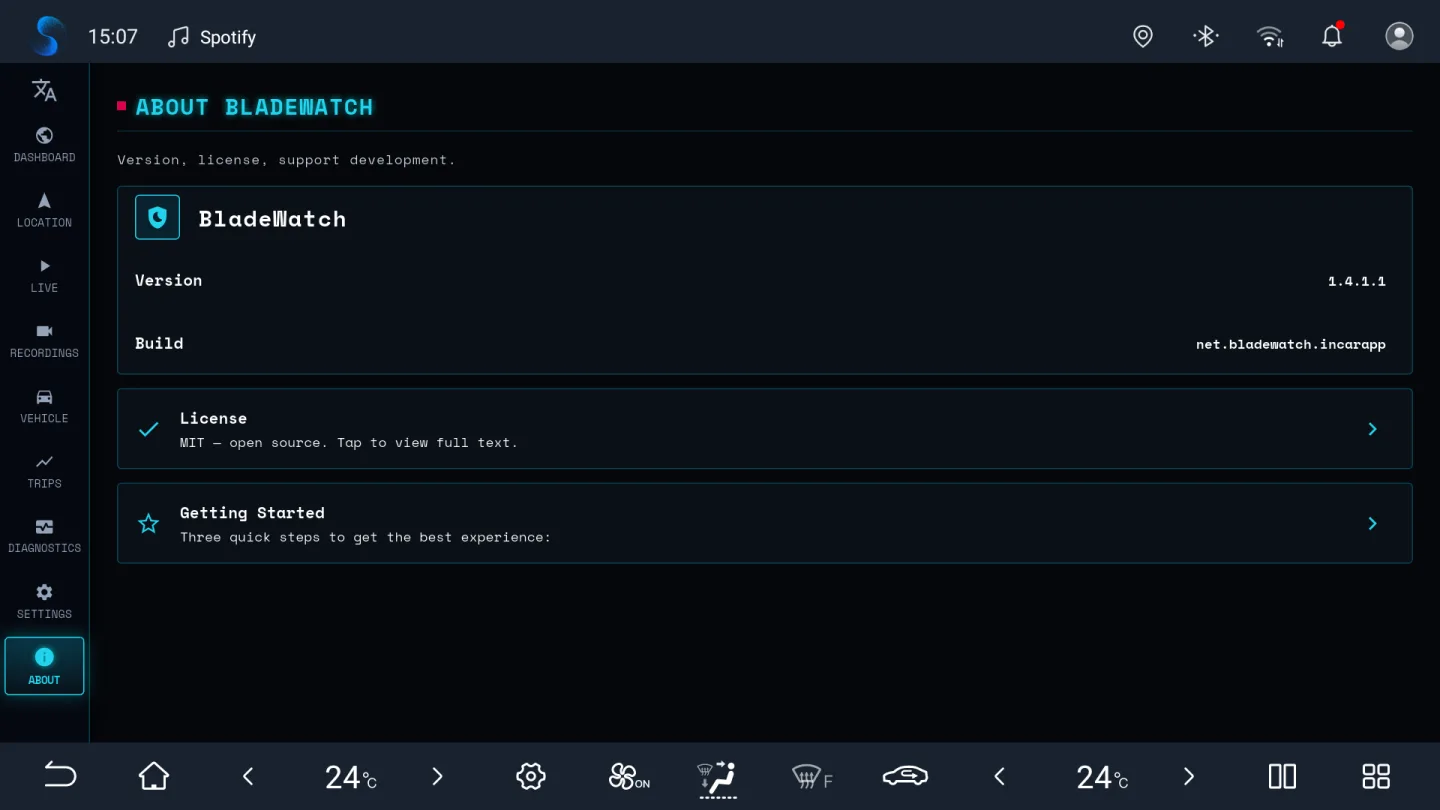
net.bladewatch.incarapp build.The BladeWatch companion app
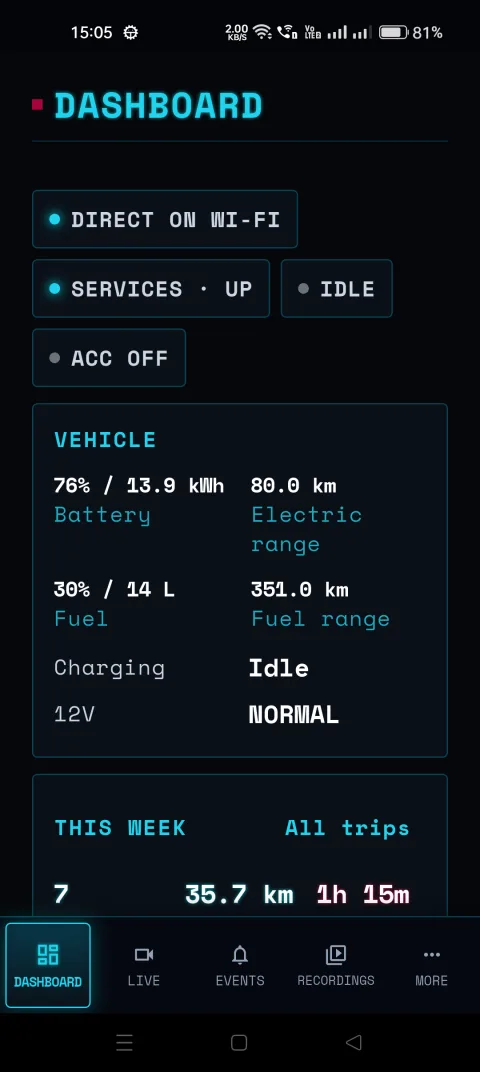
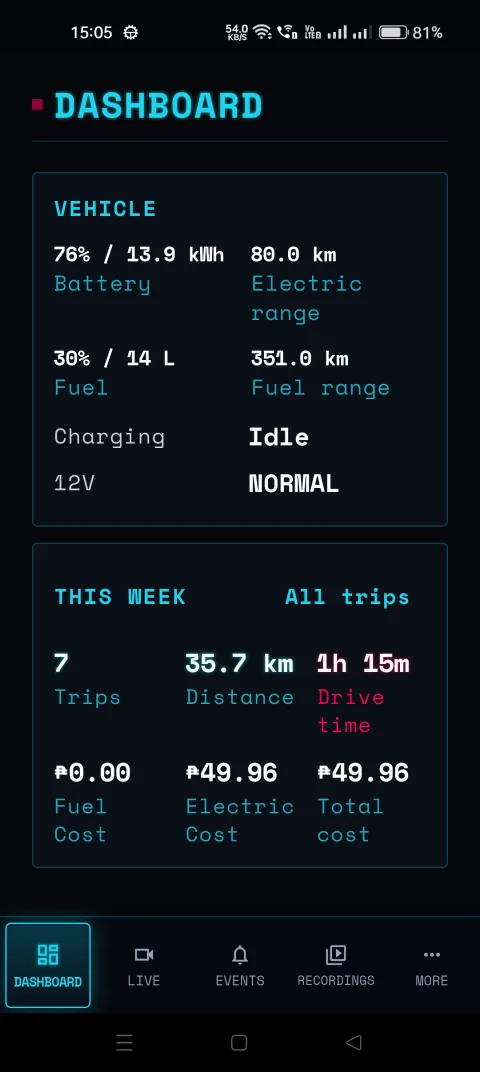
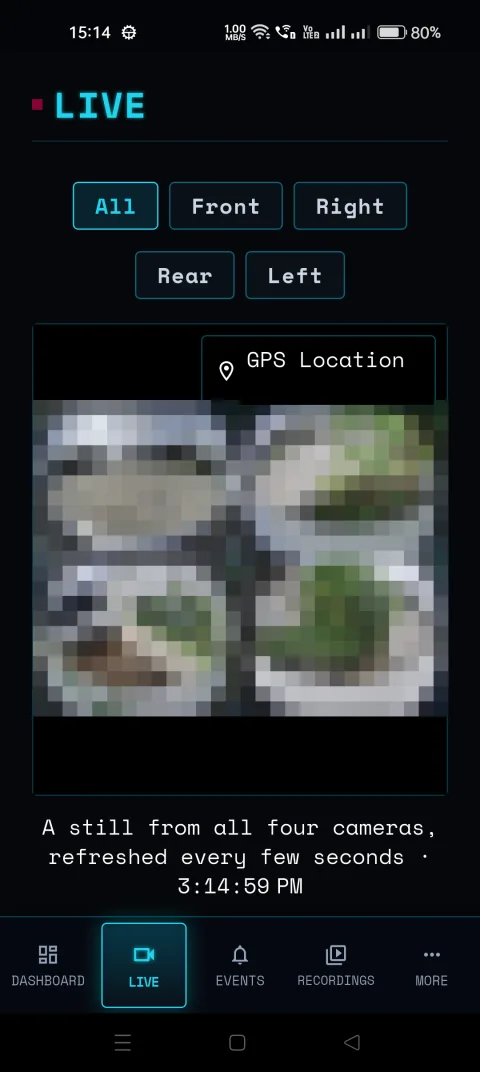
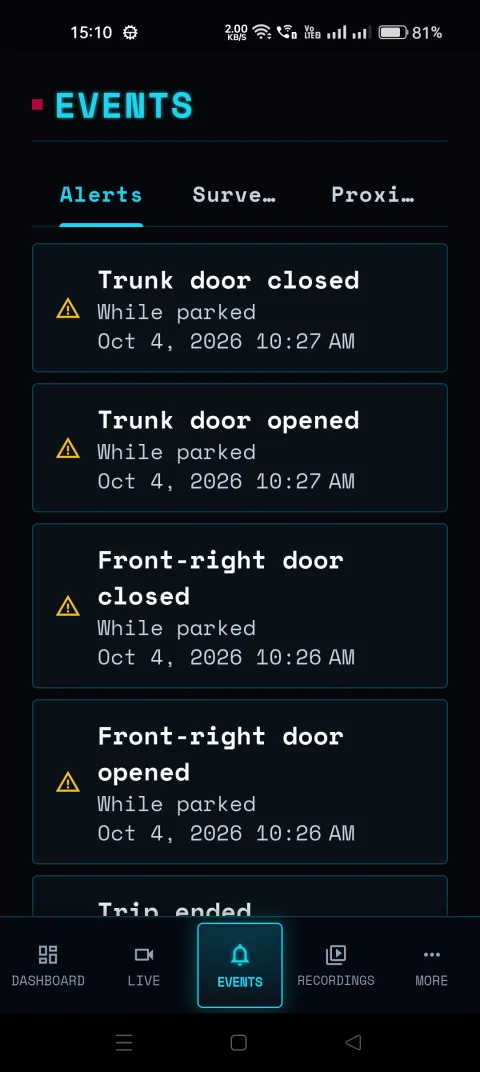
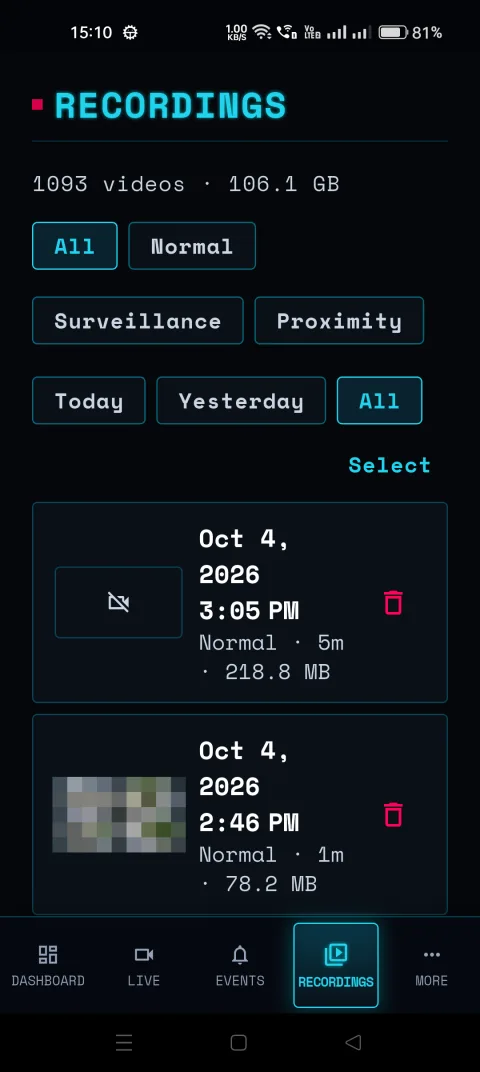
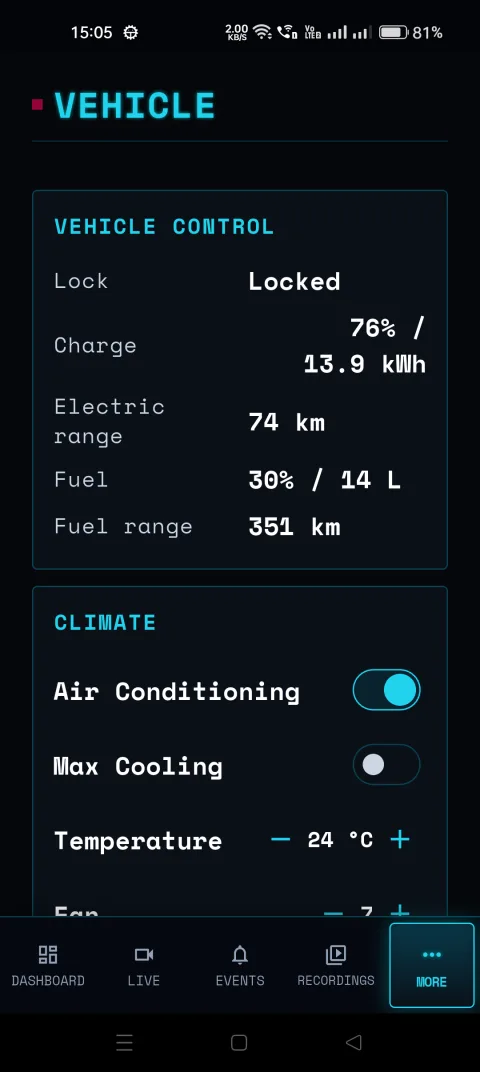
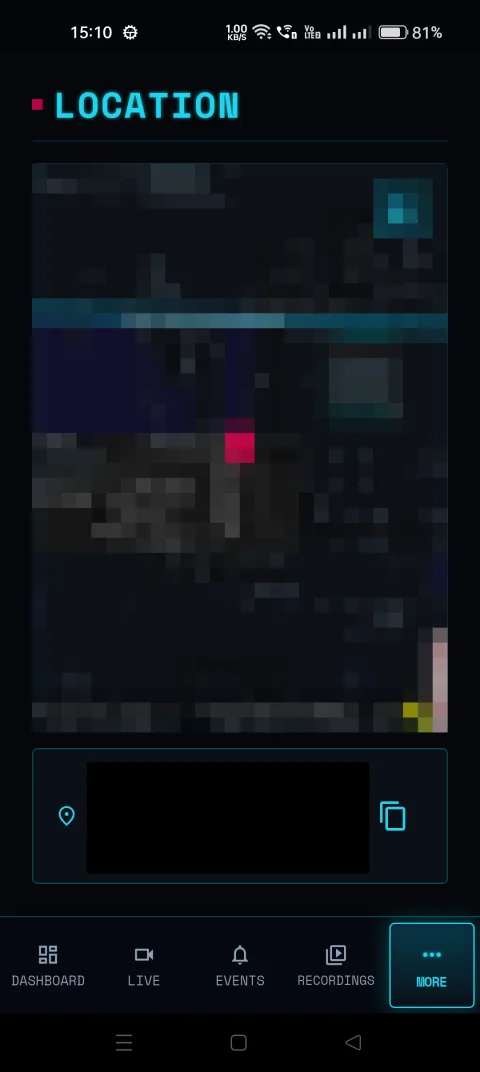
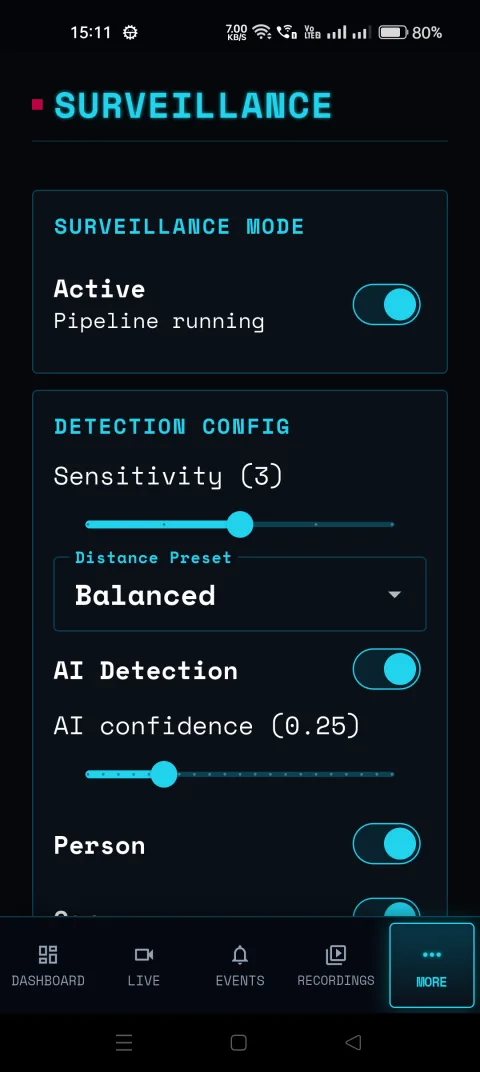
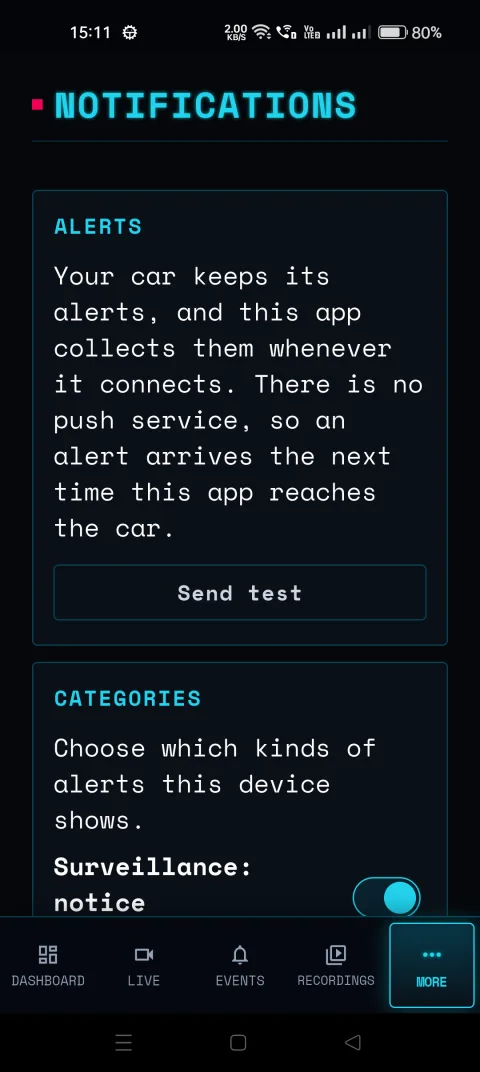
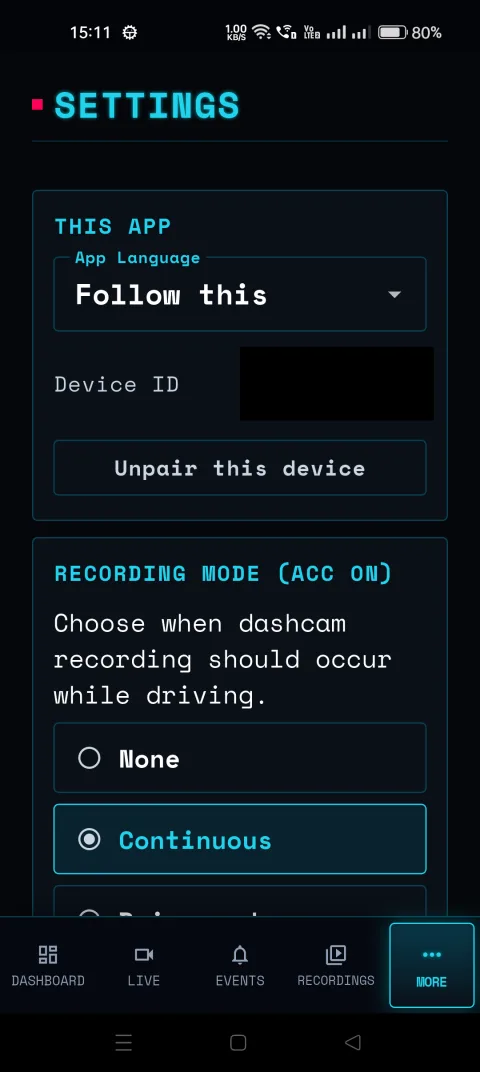
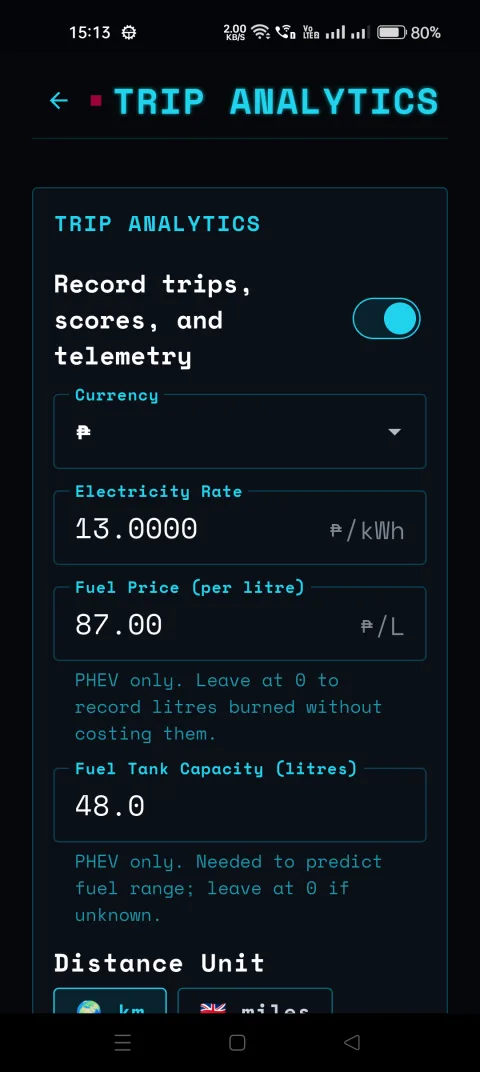
The companion reaches the car peer-to-peer over Pear — on the car's own Wi-Fi, or from anywhere over the internet. These are the Android phone builds; the same app runs on Android TV, macOS, Windows and Linux, and can be built from source for iOS.
Frequently asked questions
Which BYD cars does BladeWatch work on?
BladeWatch is built for BYD vehicles with the DiLink v3 head unit and the panoramic camera system — including the Seal, Seal 5 DM-i, Seal U, Dolphin, Atto 3, Han, and Tang. If your BYD runs DiLink v3 (Android, arm64) and has the 360° panoramic camera, BladeWatch should work.
Is BladeWatch free?
Yes. BladeWatch is completely free and open source under the MIT License. There are no accounts, subscriptions, or in-app purchases.
Does BladeWatch upload my recordings to the cloud?
No. All recordings and data stay on your BYD head unit — there is no cloud upload and no account. Remote viewing is direct and peer-to-peer between the companion app and the car over Pear, with no server in between. Alerts work the same way: the car keeps them and the companion collects them when it next connects, so there is no push service either.
Is BladeWatch a dashcam, a sentry mode app, or both?
Both. BladeWatch records the BYD panoramic camera as a dashcam while you drive and runs 24/7 sentry-style surveillance with motion and proximity detection while the car is parked.
How do I view my BYD remotely?
Install the companion app on your phone, TV or computer, then tap Pair a device on the car's Dashboard. A phone scans the QR code; a TV or computer pairs over Wi-Fi by confirming a six-digit number. The companion reaches the car peer-to-peer over Pear — no account, no server, nothing to forward on your router.
One limit worth knowing: if the car is online through its built-in SIM and your phone is on mobile data, they cannot reach each other. Both sit behind carrier NAT, which peer-to-peer connections cannot cross, and BladeWatch runs no relay to bridge them. Put the phone on Wi-Fi in that case.
What happened to the Tor address and the web app?
Both were removed in v1.4.0.0. Onion URLs and QR codes saved from v1.3.x stop working and nothing migrates them — pair the companion instead. The browser interface, its login and Web Push are gone too; the car no longer serves web pages at all.
Which platforms does the companion run on?
Android phones and tablets, Android TV, macOS (Apple silicon or Intel), Windows and Linux. Since v1.4.1.2 there is one download per kind of processor instead of one all-in-one file, so each is roughly half the size — the arm64-v8a APK for a phone, armeabi-v7a for most TVs. iOS is built from source on a Mac with Xcode, because an installable iOS app must be signed with an Apple account. Every build is unsigned, so each platform needs one extra step the first time — see Install the companion app.
Can BladeWatch run on an Android TV?
The companion app can, from v1.4.1.2. Install the armeabi-v7a APK, since most Android TVs are 32-bit, and drive it with the remote — a bright ring shows what is selected, and up and down walk the menu or scroll the page. Events, Recordings, Trips, Surveillance and Location all work. A TV has no camera, so pair it over Wi-Fi with the six-digit number. The car APKs still only go on the head unit.
Can I install BladeWatch with an AI agent?
Yes — see Install with an AI agent. Paste the published prompt into an agentic coding assistant (Claude Code, Codex, Gemini CLI, Cursor) on a computer sharing the car's Wi-Fi network. It downloads both APKs, signs them with one key, installs them over ADB, checks that both packages share a UID, and tells you what to tap on the car's screen. It is told to stop and ask rather than guess, and never to uninstall without your approval.
Why does BladeWatch ship as two APKs?
Since v1.3.2.0 the app is split into a service host (net.bladewatch.app) that runs the daemons, recording, surveillance, and BYD integration, and an in-car UI (net.bladewatch.incarapp) that is the only launcher icon. Install both. They share one Android UID so the UI can reach the daemons over loopback IPC, and that only works when both APKs are signed with the same key.
Why are the APKs unsigned?
So the signing key never has to live in CI. Sign both yourself with the same key using apksigner before installing — see Install BladeWatch. Android will not install an unsigned APK.
Is BladeWatch like Tesla Sentry Mode?
BladeWatch brings the same idea as Tesla's Sentry Mode to BYD: 24/7 surveillance that watches the parked car and records when something gets close, with motion and proximity detection. The difference is it runs natively on the BYD DiLink v3 head unit and its 360° panoramic camera, and also works as a dashcam while you drive. BladeWatch is an independent open-source project and is not affiliated with Tesla.
Troubleshooting
ADB cannot connect
- Confirm the car and computer are on the same hotspot or Wi-Fi network.
- Confirm Wireless adb debug switch is still enabled.
- Check that the IP address has not changed after reconnecting to the hotspot.
- Try running
adb kill-server, thenadb start-server, then reconnect.
Device is unauthorized
Watch the head unit for an ADB authorization prompt. Choose Always allow from this device, then run adb devices again.
APK install fails
INSTALL_PARSE_FAILED_NO_CERTIFICATESmeans the APK is still unsigned — sign it withapksignerfirst.INSTALL_FAILED_SHARED_USER_INCOMPATIBLEorINSTALL_FAILED_UPDATE_INCOMPATIBLEmeans an existing install has a different UID or signature. Uninstallnet.bladewatch.appandnet.bladewatch.incarapp, then install the fresh pair.- Make sure both files came from the same release and were signed with the same key.
- Reconnect ADB and try again if the wireless session drops during install.
The UI opens but everything is empty or disconnected
The UI is running but cannot reach the service host — usually a signing mismatch between the two APKs, or the service host was never installed. Check both are present and share a UID:
adb shell 'dumpsys package net.bladewatch.app | grep userId'
adb shell 'dumpsys package net.bladewatch.incarapp | grep userId'
Different values mean the certificates differ. Re-sign both with one key, uninstall both packages, then install the pair again.
Two BladeWatch icons after updating
You upgraded from v1.3.x and the old in-car UI is still installed. The app ID changed in v1.4.0.0, so the new UI installs alongside the old one rather than over it. Remove the old one:
adb uninstall net.bladewatch.flutterThe companion cannot reach the car
- The first connection over Pear can take up to a minute — give it time before retrying.
- Both ends have to reach each other. Some mobile carriers put phones behind a NAT that peer-to-peer connections cannot cross; try another network to rule that out.
- A car on its built-in SIM and a phone on mobile data will not connect. Both are behind carrier NAT and there is no relay to bridge them — put the phone on Wi-Fi.
- On a TV or computer, pair over Wi-Fi rather than by QR: turn on Direct connection on this Wi-Fi, put the device on the car's network, and confirm the six-digit number.
- Check the car side: Settings → Services should show Remote access (Pear) running.
- A pairing code works once and expires after five minutes. If it lapsed, tap New code on the car.
- Over mobile data, live video is smoothest at Medium quality or lower.
Recording or sentry mode stops in the background
- Open BYD Auto-Start and confirm both BladeWatch and BladeWatch Service are unchecked. BYD re-applies the restriction on every install, so check this again after each update.
- Hard reboot the head unit by holding Volume Down for 5 seconds after the first install.
After install
Once BladeWatch is installed and set up, disconnect ADB and disable wireless debugging in the engineer menu unless you need it again.
adb disconnect <IP_ADDRESS>:5555Leaving wireless debugging enabled can make the head unit easier to access from other devices on the same network.